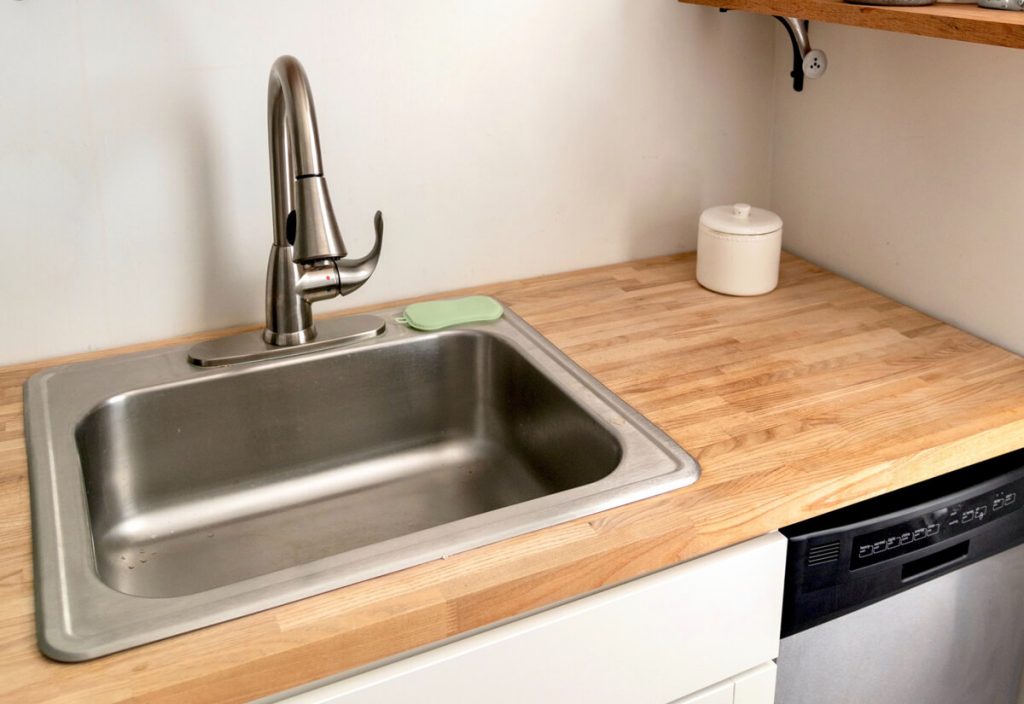
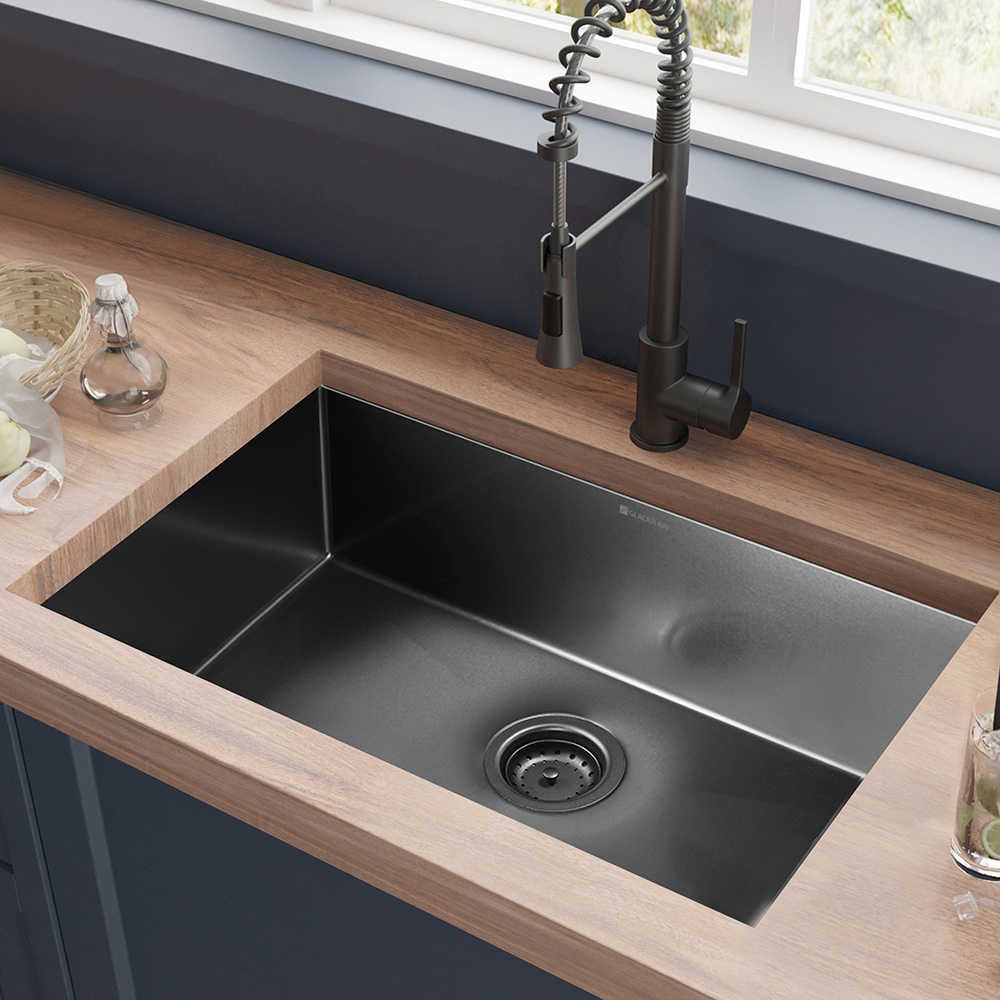
Fitting a kitchen sink may seem like a daunting task. But with the proper guidance, it’s completely manageable.
Every home needs a properly installed kitchen sink. A well-fitted sink enhances the look of the kitchen and ensures its functionality. Whether renovating your kitchen or replacing an old sink, knowing how to fit it correctly can save you time and money.
This guide will walk you through the steps, tools, and tips needed for a successful installation. From preparing the area to securing the sink, you’ll learn everything you need to ensure your sink fits perfectly and works efficiently. So, let’s dive into the process and easily fit your kitchen sink.

Credit: en.lesso.com
Tools And Materials
Fitting a kitchen sink can be a rewarding DIY project. Before you start, gather all the tools and materials you’ll need. Proper preparation saves time and effort, and having everything on hand helps the installation go smoothly.
Essential Tools
- Adjustable Wrench: Useful for tightening nuts and bolts.
- Pipe Wrench: Handy for gripping and turning pipes.
- Hacksaw: Needed to cut pipes to the correct length.
- Plumber’s Putty: Seals gaps and prevents leaks.
- Screwdriver: Required for securing screws and fittings.
- Measuring Tape: Ensures precise measurements for fitting.
- Plumber’s Tape: Seals threaded pipe joints.
- Bucket: Catches water during the installation process.
Necessary Materials
- Kitchen Sink: Choose a sink that fits your countertop.
- Faucet: Select a faucet that matches your sink’s design.
- Plumbing Pipes: These are required to connect the sink to the water supply.
- Sink Clips: Secure the sink to the countertop.
- Sealant: Prevents water from seeping into the countertop.
- Drain Assembly: Includes the necessary parts for the sink’s drainage system.
- Hoses: Connect the water supply to the faucet.
- Strainer: Prevents debris from clogging the drain.

Credit: www.youtube.com
Preparation Steps
Getting ready to fit a kitchen sink involves several key steps. Proper preparation ensures a smooth installation process. This section will guide you through the essential preparation steps to make sure everything is set for your new kitchen sink.
Shut Off the Water Supply
The first step is to shut off the water supply. Locate the valves under the sink. Turn both the hot and cold water valves clockwise to close them. This prevents any water from flowing while you work. If you can’t find the valves, shut off the main water supply to your home.
Clear Out Cabinet
Next, clear out the cabinet under the sink. Remove any stored items to create a clean workspace. This will give you enough room to work comfortably. Check for any obstacles or items that could get in the way. Clearing the space helps you avoid accidents and makes the installation easier.
Removing Old Sink
Removing an old kitchen sink can seem daunting, but with the proper steps, it becomes manageable. Follow these instructions to remove your old sink efficiently and prepare for a new one.
Disconnect Plumbing
Start by disconnecting the plumbing. Locate the shut-off valves under the sink. Turn them clockwise to stop the water flow. Use a wrench to disconnect the supply lines from the valves. Place a bucket under the pipes to catch any water. Next, disconnect the drain pipe using a pipe wrench. Be careful, as water may still be present in the pipes.
Detach Sink
Once the plumbing is disconnected, move to detaching the sink. If your sink is held in place with mounting brackets, use a screwdriver to remove them. Cut the caulk around the sink’s edge using a utility knife. This helps to separate the sink from the countertop. Gently lift the sink out of the countertop. If it feels stuck, use a putty knife to loosen it. Be cautious not to damage the countertop.
By following these steps, you’ll have your old sink removed and ready for a new installation.
Measuring And Cutting
Proper measurement and cutting are crucial steps in fitting a kitchen sink. Follow these steps to ensure a precise and accurate fit for your new sink.
Measure Sink Opening
Start by measuring the dimensions of the sink opening. Use a tape measure to get the length and width of the opening. Make sure to measure from edge to edge.
Next, measure the depth of the countertop. This helps you understand how deep your sink can be. Write down all measurements for reference.
Important: Double-check all measurements. Errors can lead to improper fitting.
Cut Countertop
Place the sink upside down on the countertop where you want to install it. Trace the outline of the sink with a pencil.
Use a ruler to draw a second line inside the first outline. This line should be 1/2 inch smaller than the actual sink outline. This inner line is your cutting guide.
| Tools Needed | Purpose |
|---|---|
| Jigsaw | Cutting the countertop |
| Drill | Making starter holes |
| Clamps | Securing the countertop |
Drill a hole at each corner of the inner line. Ensure the holes are big enough for the jigsaw blade. Insert the jigsaw blade into one of the holes and start cutting along the inner line. Move the jigsaw slowly and steadily for a clean cut.
After cutting, remove the cut piece of the countertop. Test fit the sink in the opening. If it doesn’t fit, trim the edges slightly until the sink fits snugly.
Tip: Sand the edges of the cutout to make them smooth.
Following these steps ensures your sink will fit perfectly in your kitchen. Accurate measurement and careful cutting are key to a successful installation.
Installing New Sink
Updating your kitchen sink can give your kitchen a fresh look. The process of installing a new sink involves a few steps. This guide will help you understand how to fit a kitchen sink easily.
Apply Sealant
First, you need to apply sealant around the sink opening. Use a high-quality sealant to ensure a tight seal. Apply it evenly around the edges of the sink hole. This will prevent water from leaking under the sink.
Place Sink
Next, carefully place the sink into the opening. Make sure the sink is centered and fits snugly. Press down to ensure the sealant spreads evenly. Check that the sink is level and adjust if needed.
Once the sink is in place, let the sealant dry. This usually takes a few hours. Avoid using the sink until the sealant is fully set.

Credit: www.homedepot.com
Connecting Plumbing
Connecting plumbing is a crucial step in fitting your kitchen sink. It ensures water flows seamlessly and drains properly. This process involves attaching drain pipes and connecting water lines. Follow these steps to achieve a perfect setup.
Attach Drain Pipes
Start by installing the drain pipes. Ensure you have all the necessary components:
- P-trap
- Tailpiece
- Slip nuts
- Washers
First, attach the tailpiece to the sink’s drain outlet. Use a slip nut and washer to secure it tightly. Next, connect the P-trap to the tailpiece. Align the P-trap with the wall drain pipe. Tighten the slip nuts by hand. Ensure all connections are snug, but not overly tight.
Check for leaks by running water through the sink. If you find any drips, tighten the connections a bit more.
Connect Water Lines
Now, it’s time to connect the water lines. Here’s a list of items you’ll need:
- Flexible water supply hoses
- Teflon tape
- Adjustable wrench
Begin by wrapping Teflon tape around the threads of the shutoff valves. This ensures a secure and leak-free connection. Attach the flexible water supply hoses to the shutoff valves. Use an adjustable wrench to tighten them, but avoid over-tightening.
Connect the other end of the hoses to the faucet’s hot and cold water inlets. Make sure to connect the hot water line to the hot water inlet and the cold water line to the cold water inlet.
Turn on the shutoff valves and check for any leaks. Tighten any loose connections if needed. Ensure the water flows smoothly through the faucet.
Testing For Leaks
Once you have installed your kitchen sink, it is crucial to test for leaks. This step ensures that all connections are secure and no water escapes. Leaks can cause damage over time, so it is important to catch them early.
Run Water
Start by running water through the faucet. Turn on both the hot and cold taps to check if the water flows smoothly. Let the water run for a few minutes.
While the water runs, observe under the sink. Look for any signs of dripping or moisture. Pay close attention to the faucet, the sink drain, and any visible pipes.
Check Connections
Next, check all the connections under the sink. Use a flashlight to get a clear view. Inspect the joints, seals, and fittings. Look for any wet spots or drips.
Make sure to check the following connections:
- The connection between the faucet and the water supply lines
- The connection between the sink drain and the plumbing pipes
- Any other visible joints or fittings
If you find a leak, tighten the connections. Use a wrench if needed. If the leak persists, you may need to replace the faulty part.
Here is a quick checklist for testing leaks:
| Step | Action |
|---|---|
| 1 | Run both hot and cold water |
| 2 | Observe under the sink for drips |
| 3 | Check all connections with a flashlight |
| 4 | Tighten any loose connections |
| 5 | Replace faulty parts if necessary |
Finishing Touches
The final steps in fitting your kitchen sink are crucial. They ensure a polished and functional finish. These steps are simple but important. Let’s dive into the finishing touches that will make your sink installation perfect.
Seal Edges
Sealing the edges is vital. It prevents water from seeping underneath. Use a high-quality silicone sealant. Apply it around the perimeter of the sink. Ensure a smooth, even line. This will create a waterproof barrier.
Use a caulking gun for precision. Once applied, smooth the sealant with a damp finger to ensure no gaps or air bubbles. Let the sealant dry for at least 24 hours to ensure it sets properly.
Clean Up
The final step is cleaning up. Use a damp cloth to remove any excess sealant. Check the sink and surrounding area for debris. Wipe down the entire sink with a mild cleaner. This will ensure it’s spotless and ready for use.
Double-check for loose connections and tighten them if necessary. Ensure the faucet and drains are secure. Your kitchen sink should now be fully functional and look great.
Frequently Asked Questions
What Tools Are Needed To Fit A Kitchen Sink?
To fit a kitchen sink, you need a wrench, screwdriver, plumber’s putty, and a utility knife. These tools help ensure a proper and secure installation.
How Do I Prepare The Countertop For A Sink?
First, accurately measure the sink’s dimensions. Next, cut the countertop hole accordingly. Finally, ensure the edges are smooth and clean.
What Type Of Sealant Should I Use?
Use a waterproof silicone sealant. It creates a watertight seal and prevents leaks. Apply it evenly around the sink’s edges.
Can I Fit A Kitchen Sink By Myself?
Yes, you can fit a kitchen sink by yourself. Follow detailed instructions and ensure you have the necessary tools and materials.
Conclusion
Fitting a kitchen sink is simple with the right tools and steps. Follow the instructions carefully to avoid any mistakes. Double-check your measurements before making cuts. Secure all connections tightly to prevent leaks. Remember, patience and precision are key. If unsure, consider seeking professional help.
Enjoy your new kitchen sink and its fresh look. Your efforts will pay off with a functional and stylish kitchen.


