Cleaning the kitchen exhaust fan can be challenging, but removing the fan doesn’t have to involve removing it.
Exhaust fans collect a lot of grease and dust. Keeping them clean is essential for proper airflow and hygiene. Sometimes, dismantling the fan isn’t an option. Whether it’s due to a lack of tools, time, or expertise, cleaning it without removal becomes necessary.
In this guide, you’ll learn simple steps to clean your exhaust fan while it stays in place. This practical and effective method ensures your kitchen remains fresh and safe. So, let’s dive in and make your exhaust fan spotless without any hassle.
Preparation Steps
Cleaning your kitchen exhaust fan without removing it can be simple. Follow these preparation steps for a seamless cleaning experience. These steps ensure you have everything you need and stay safe.
Gather Supplies
First, gather all necessary supplies. Here’s what you need:
- Soft cloths or rags
- Dish soap
- Warm water
- Bucket
- Old toothbrush
- Vacuum cleaner with brush attachment
- Step ladder (if needed)
Place these supplies in a convenient spot. This will make your task easier and faster.
Ensure Safety
Before you start cleaning, ensure your safety. Follow these simple steps:
- Turn off the exhaust fan. Unplug it if possible.
- Wear rubber gloves to protect your hands.
- Use a step ladder if the fan is too high.
These steps help prevent accidents and ensure a smooth cleaning process. Always prioritize safety during any cleaning task.
Turn Off Power
Before you clean your kitchen exhaust fan, ensure your safety. Always start by turning off the power. This prevents any risk of electric shock or injury. It’s a crucial first step to keep you safe while cleaning.
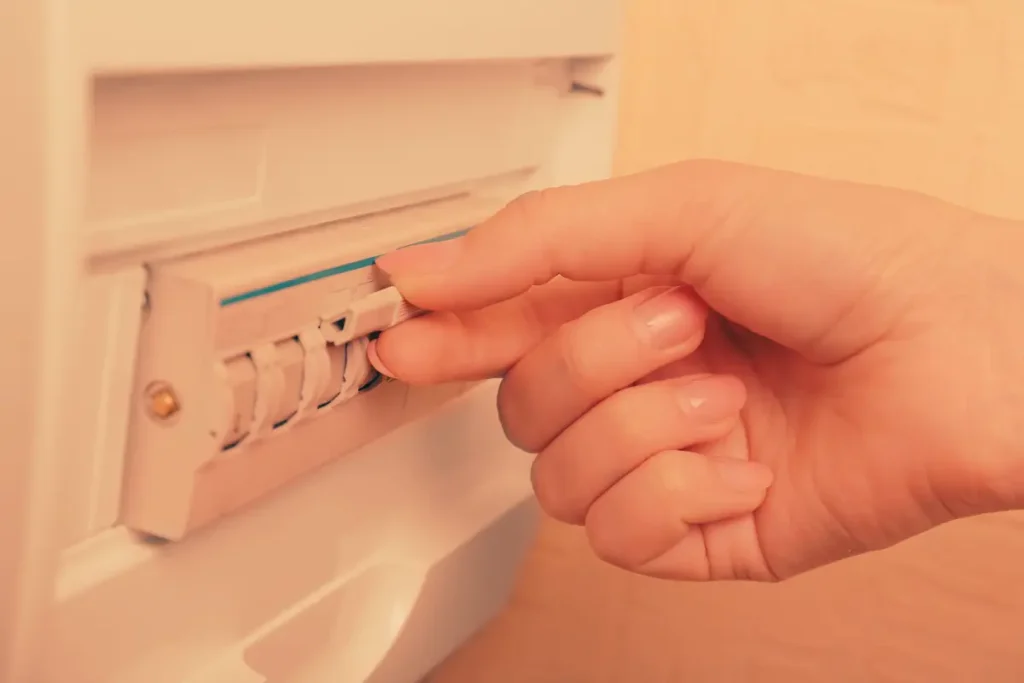
Locate Switch
First, locate the power switch for the exhaust fan. It’s usually on the wall near the fan. If you can’t find it, check the circuit breaker box. Make sure the switch is in the off position before proceeding.
Unplug Fan
Next, unplug the fan from the wall socket. This further ensures there’s no power running to the fan. Even if the switch is off, unplugging adds an extra layer of safety. Now, you are ready to start cleaning the exhaust fan.
Remove Cover
Cleaning your kitchen exhaust fan can seem like a complicated task. But you don’t always need to remove the fan to give it a good cleaning. One key step in this process is removing the cover. This allows you to access the inner parts of the fan more easily. Let’s break down the steps to remove the cover.
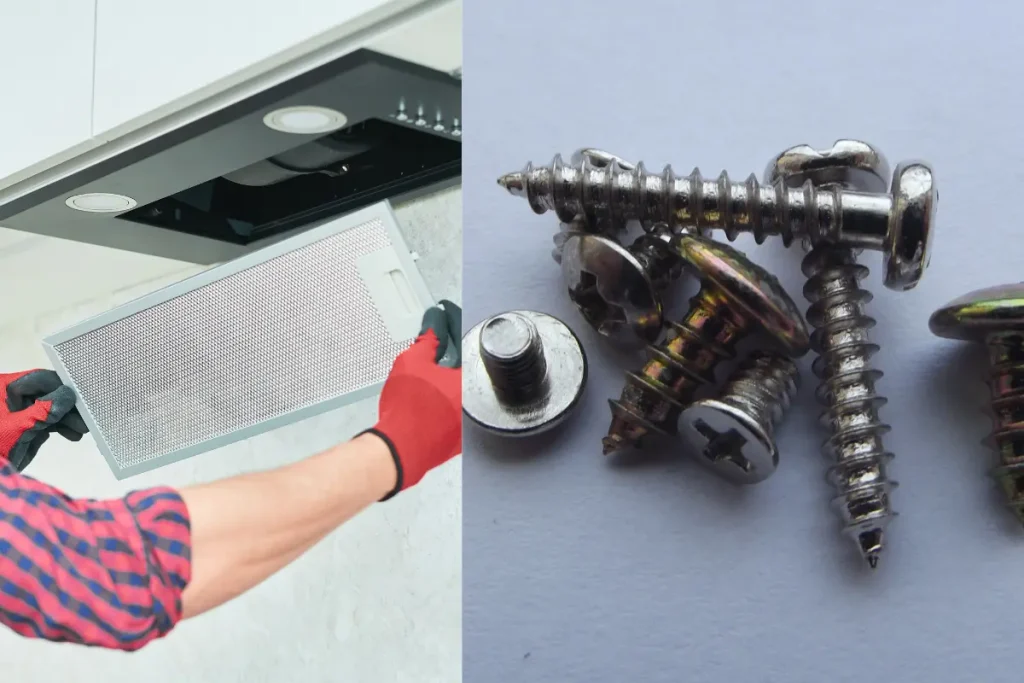
Loosen Screws
First, locate the screws that hold the cover in place. These are usually on the edges of the cover. Use a screwdriver to loosen the screws. Turn them counterclockwise until they come out. Be careful not to strip the screws. They can be tricky to remove if damaged.
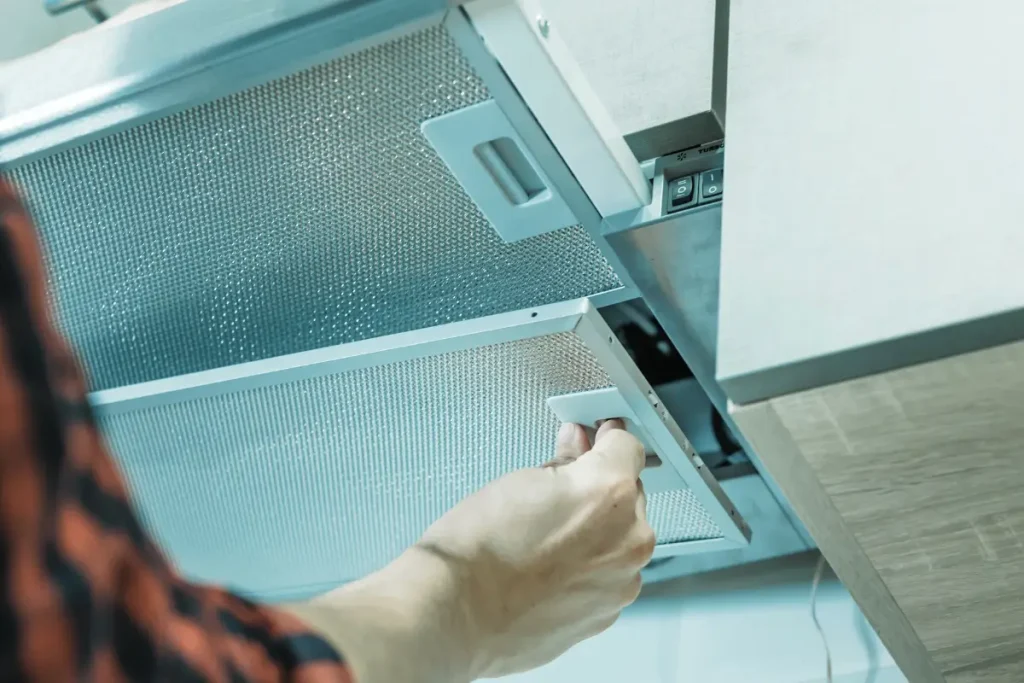
Set Aside
After removing the screws, gently pull the cover away from the fan. It should come off quickly. Set the cover aside in a safe place. Make sure you don’t lose the screws. You will need them to reattach the cover later. Now you have access to the inside of the exhaust fan for cleaning.
Dust Removal
Keeping your kitchen exhaust fan clean is essential for a healthy environment. Dust build-up can reduce the fan’s efficiency and lead to unpleasant odors. You can clean the exhaust fan without removing it. Let’s explore some simple ways to remove dust.
Use Brush
A brush can be very effective for dust removal. Choose a brush with soft bristles. Gently brush the blades and the cover. This will loosen and remove the dust. Make sure to reach all corners and edges. For stubborn dust, use a toothbrush. It can access tight spaces.
Vacuum Dust
Vacuuming is another great way to clean. Use a vacuum cleaner with a nozzle attachment. Turn on the vacuum and run the nozzle over the fan. This will suck up the dust. Be thorough and cover all parts of the fan. For best results, use a handheld vacuum. It provides better control and precision.
Degrease Blades
Keeping your kitchen exhaust fan clean is crucial for a hygienic environment. One essential step is to degrease the blades. Grease buildup can hinder the fan’s performance and pose health risks. Here’s how to clean the blades without removing the fan.
Apply Cleaner
First, turn off the fan’s power supply. Choose a suitable degreasing cleaner. Spray the cleaner directly onto the fan blades. Ensure you cover all surfaces evenly.
| Cleaner Type | Recommended Use |
|---|---|
| Citrus-based cleaner | For light grease |
| Heavy-duty degreaser | For stubborn grease |
Scrub Gently
After applying the cleaner, let it sit for a few minutes. Use a soft brush or cloth to scrub the blades gently. Avoid using abrasive materials that could damage the blades.
For hard-to-reach areas, use a toothbrush. This helps in cleaning the corners and edges effectively.
- Use a soft brush for scrubbing
- Avoid abrasive materials
- Use a toothbrush for corners
Clean Motor
Clean the kitchen exhaust fan without removing it. Scrub the blades with a brush and soapy water, then rinse with a damp cloth.
Cleaning the motor of your kitchen exhaust fan is crucial. It ensures smooth operation and longevity. Over time, the motor can collect dust and grease, affecting its performance. Follow these steps to clean it without removing the fan.
Wipe Carefully
First, unplug the exhaust fan for safety, and use a dry cloth to wipe the motor. Be gentle to avoid damaging any parts. Pay special attention to the blades and any visible dirt. Remove as much dust and grease as possible.
Avoid Liquids
Do not use water or cleaning solutions on the motor. Liquids can damage the electrical components. They can also cause rust and corrosion. Stick to dry cleaning methods. Use a soft brush for hard-to-reach areas. This ensures a thorough clean without risk.
| Warning ❗ Do not spray water directly to electrical components and motor. |
Dry Components
Cleaning the exhaust fan in your kitchen without removing it can be tricky, but focusing on the dry components can make the task much more manageable. It’s essential to ensure that no moisture gets into the electrical parts of the fan. Following these simple steps, you can keep your exhaust fan clean and functional.
Use Cloth
Start by turning off the exhaust fan’s power. Safety first. Use a dry cloth to wipe the blades and the outer casing. The cloth should be soft to avoid scratching the surfaces. Gently rub the fabric over the blades to remove dust and grease. Work patiently to ensure you reach all parts.
Ensure No Moisture
Avoid using water or any liquid cleaner. Moisture can damage the fan’s electrical components. Instead, use a dry or slightly damp cloth. If the cloth is wet, make sure it is wrung out properly. Focus on removing all visible dirt and grime.
After cleaning, let the fan air dry completely before turning it back on. This ensures no moisture remains, keeping your kitchen exhaust fan safe and efficient.
Reassemble Fan
Reassembling your kitchen exhaust fan after cleaning it is crucial. This step ensures the fan functions correctly and safely. Follow these steps to reassemble the fan without removing it from the ceiling or wall.
Replace Cover
Begin by carefully placing the cleaned cover back onto the fan. Make sure it fits snugly into its original position. Align the cover’s clips or hooks with the corresponding slots on the fan.
Tighten Screws
Once the cover is in place, secure it by tightening the screws. Use a screwdriver to fasten each screw firmly. Do not over-tighten, as this may damage the fan or cover.
Check that all screws are tightened evenly. This ensures the cover stays attached and the fan operates smoothly.
Final Check
After cleaning your kitchen exhaust fan, it is crucial to perform a final check. This ensures your exhaust fan is in good working condition and thoroughly clean. This step helps to identify any overlooked spots and confirms the effectiveness of your cleaning efforts.
Test Functionality
Begin by turning on the exhaust fan. Listen for unusual sounds. If the fan operates smoothly, it indicates proper functionality.
If you hear strange noises or vibrations, inspect the fan blades. They may need realignment or further cleaning.
Check if the fan is effectively removing kitchen smoke and odors. A well-functioning fan will clear the air quickly.
Ensure Cleanliness
Inspect the fan blades and housing to ensure no grease or dirt remains. Use a flashlight for better visibility.
Wipe down any remaining spots with a damp cloth. This ensures every part is clean and functioning.
Look for any buildup in the surrounding area of the exhaust fan. Clean these areas as needed.
This final check will ensure your kitchen exhaust fan is thoroughly clean and functioning correctly. Regular maintenance will prolong its life and keep your kitchen air fresh.
Frequently Asked Questions
How Do You Clean A Kitchen Exhaust Fan?
To clean a kitchen exhaust fan, first, turn off the power. Use a damp cloth with mild detergent to wipe the blades and grills. Rinse and dry thoroughly. This helps remove grease and dirt effectively.
Can I Clean An Exhaust Fan Without Removing It?
Yes, you can clean an exhaust fan without removing it. Use a vacuum cleaner to remove loose dust, then wipe down the blades and grills with a damp cloth and mild detergent.
What Tools Do I Need To Clean An Exhaust Fan?
To clean your kitchen exhaust fan, you will need a vacuum cleaner, a damp cloth, mild detergent, and a small brush. These tools help effectively remove dust and grease buildup.
How Often Should You Clean A Kitchen Exhaust Fan?
Clean your kitchen exhaust fan every three months. Regular cleaning prevents grease buildup and ensures efficient operation, helping maintain good air quality in your kitchen.
Final Words
Cleaning your kitchen exhaust fan can be simple. You don’t need to remove it. Regular maintenance keeps your kitchen fresh. Just follow the steps in this guide. Use essential household items. Stay consistent with cleaning schedules. This ensures your fan works efficiently.
A clean exhaust fan reduces odors and improves air quality. Enjoy a cleaner, more pleasant kitchen environment. Keep your kitchen appliances in top shape. Happy cleaning!

